3D printing can help replace a handle, cap, spacer or holder. First establish why the part failed, recover the important dimensions and choose a material for its working conditions. Modeling and printing are assessed separately.
Compare a repair with an available spare
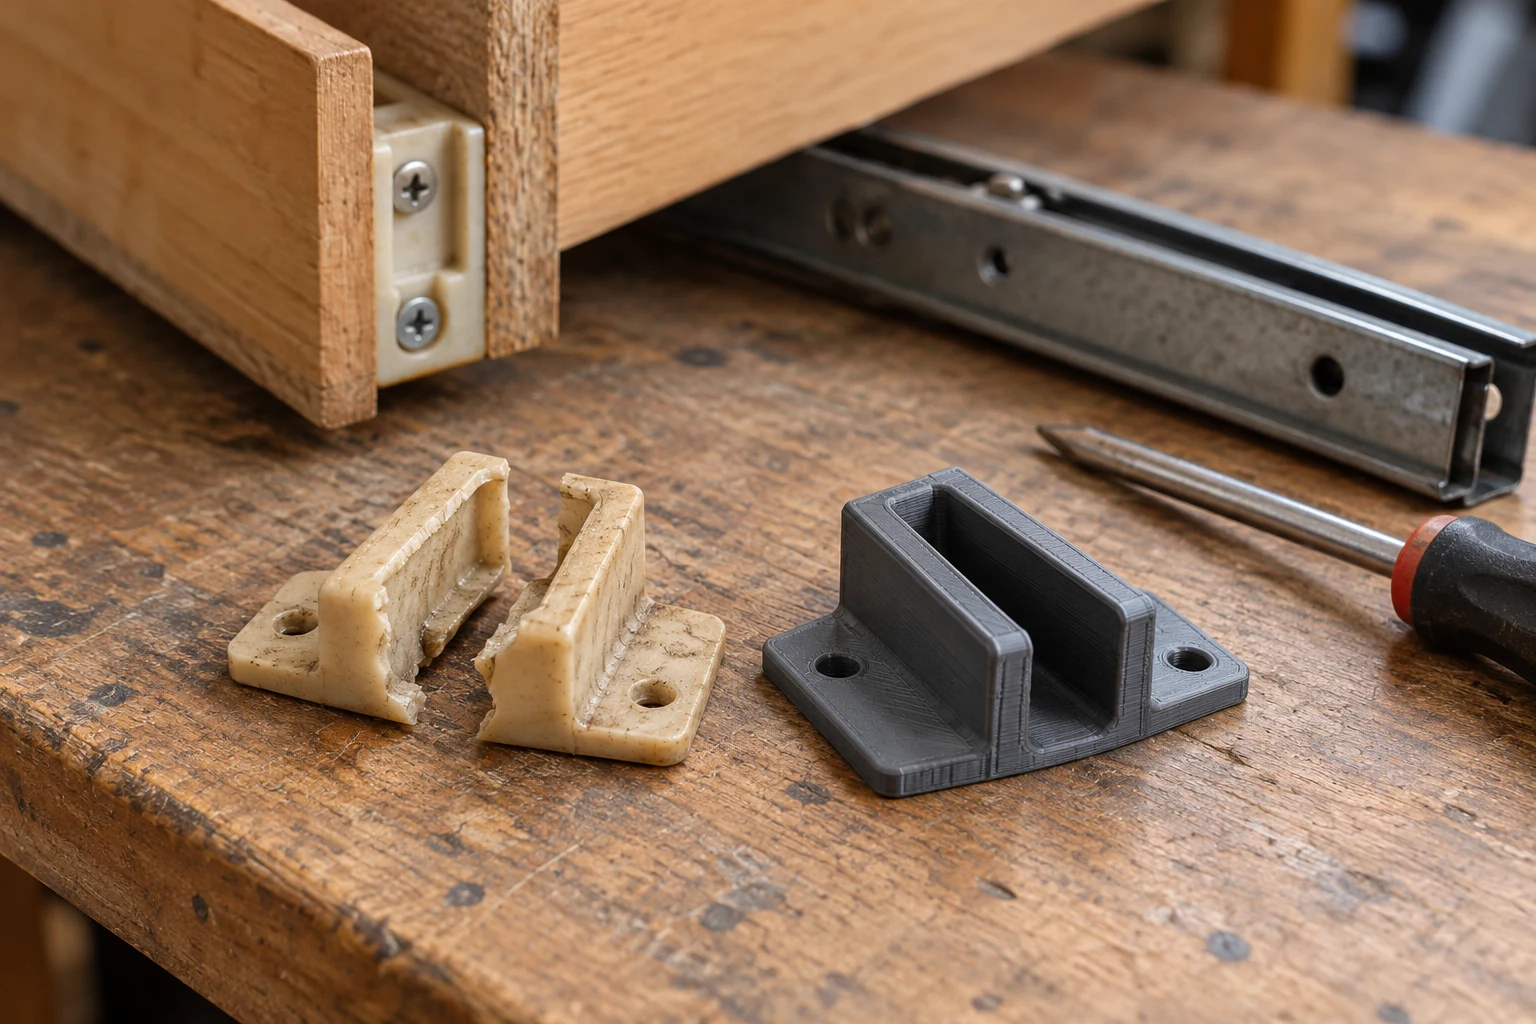
Start by looking for the original component using the item’s model and part number. If a suitable spare is available at a sensible price, buying it may be the simplest option. Custom printing is particularly useful when the required size is unavailable, delivery is slow or a small plastic part can only be bought as part of an entire assembly.
A missing cap from an organizer may need a simple shape and the dimensions of its opening. A mechanism could have several worn components, in which case replacing only the broken piece may not address the cause. Describe how the item worked before it failed.
Keep the fragments and the mating part
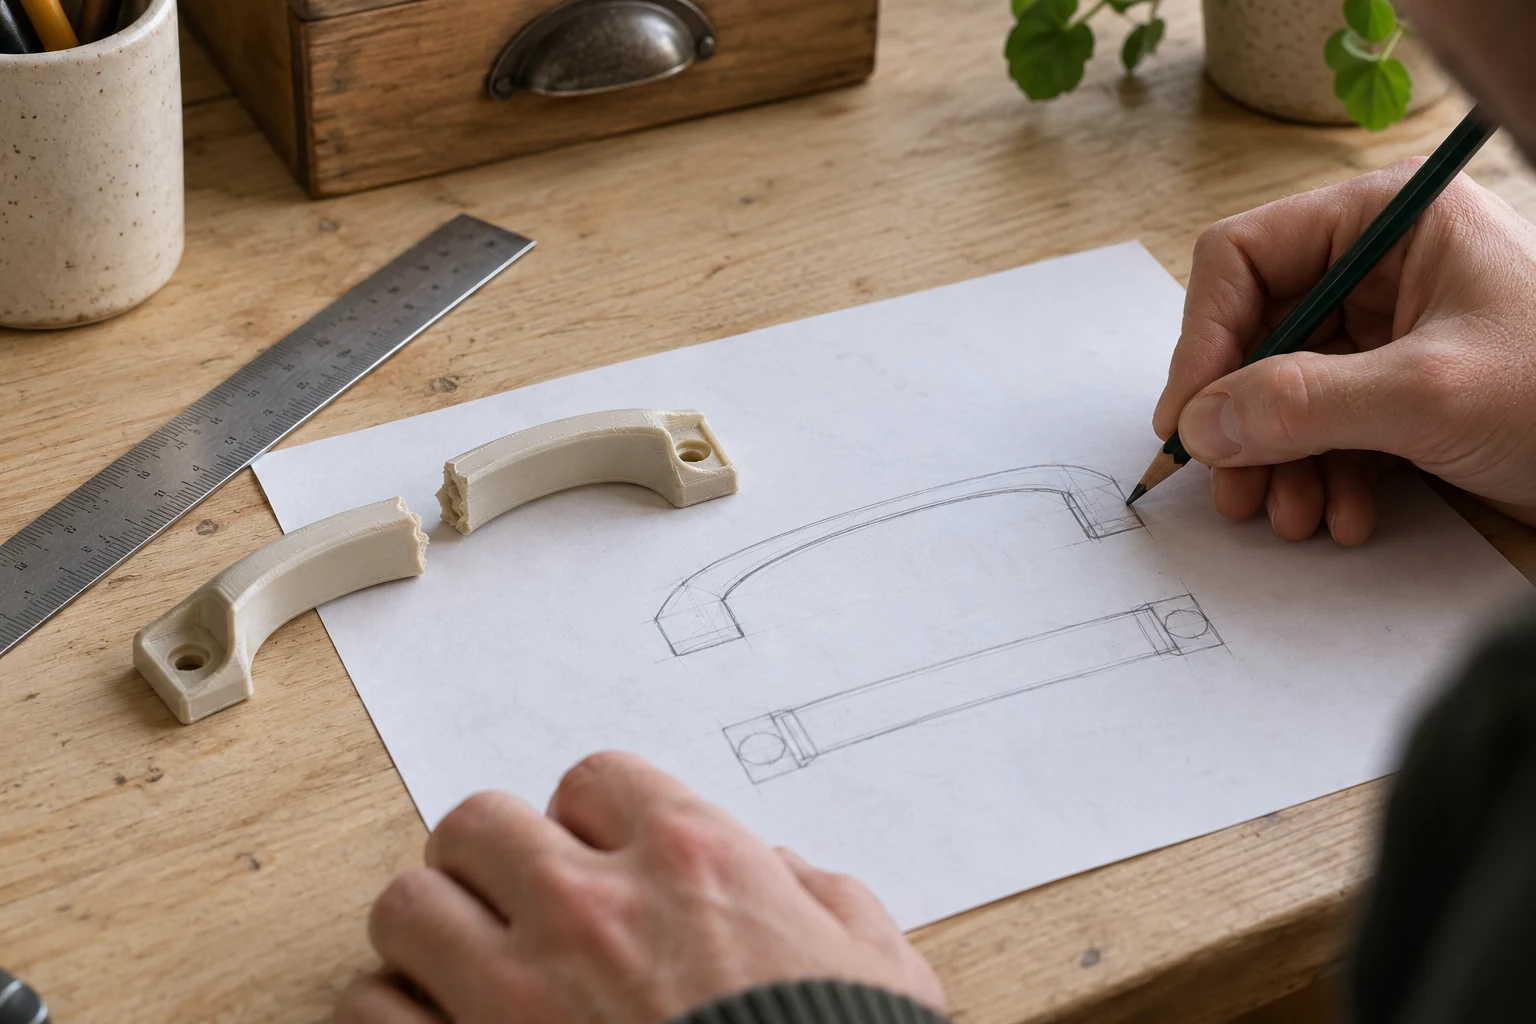
Save every fragment. Photograph the component from several sides and show its installation position separately. Identify contact surfaces, fasteners and missing areas. A photograph beside a ruler gives an overview, but write down the critical measurements too.
Show a second working example if you have one. Check whether left and right components are actually the same or mirrored. A handle needs its fixing spacing; a cap needs the opening geometry; a holder needs the object’s dimensions. The accuracy guide explains how to identify these measurements.
Sometimes the design needs a change
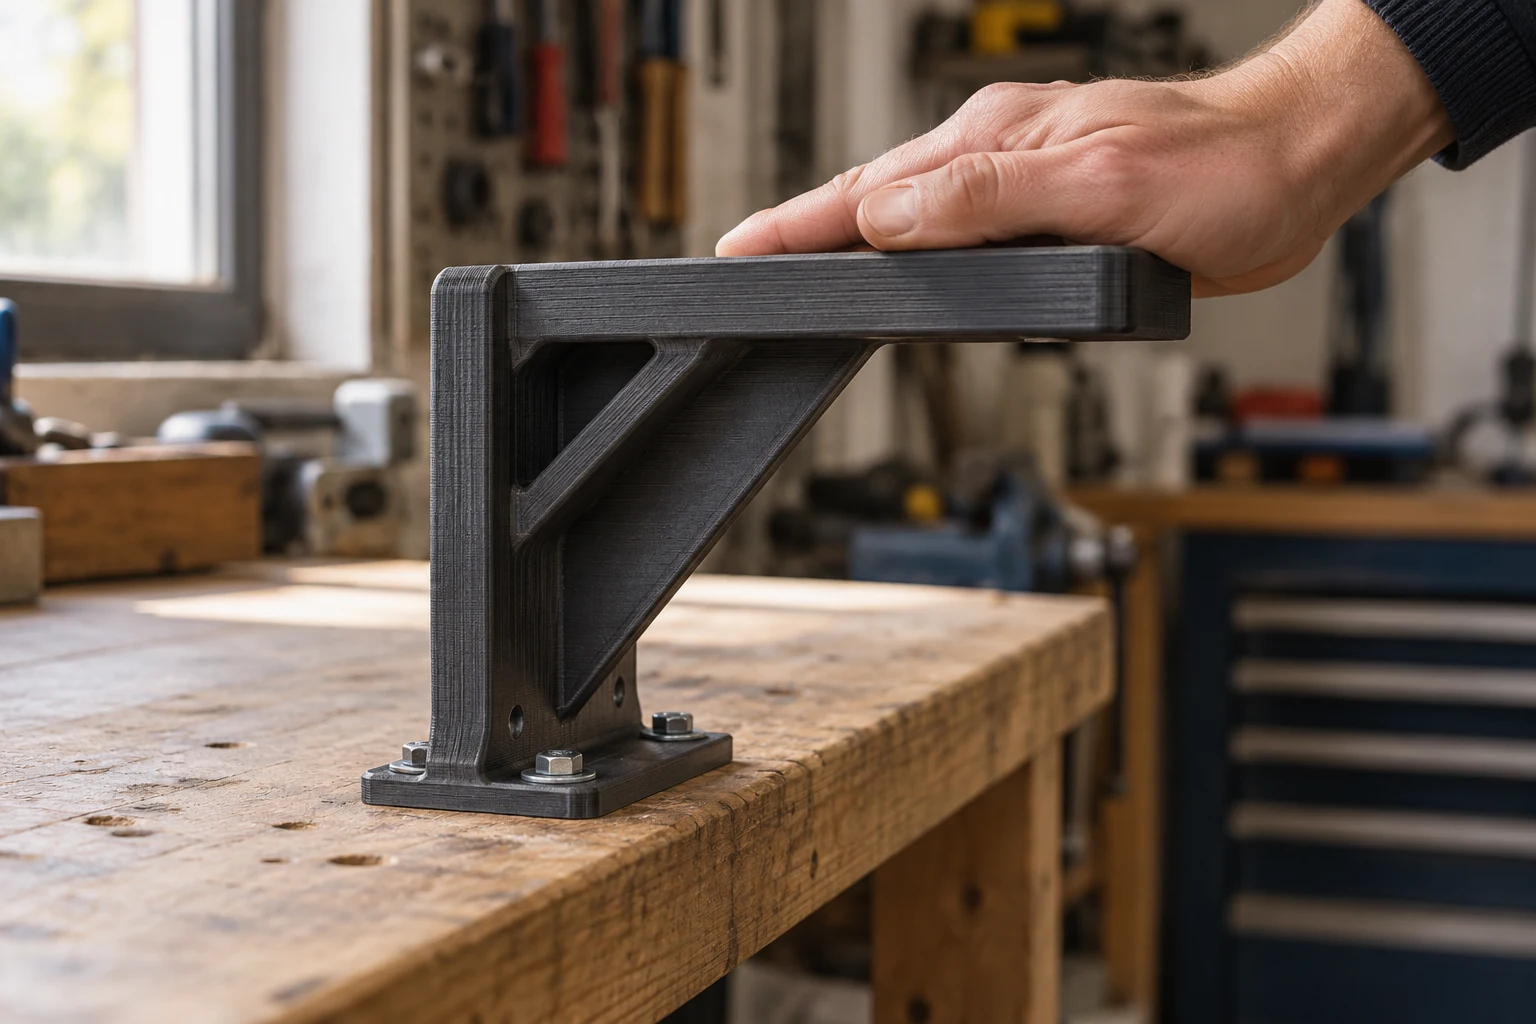
If a thin bridge has broken repeatedly, copying the original shape exactly may repeat its weakness. During modeling, discuss whether there is space for reinforcement or a different mounting. Mark areas where outside dimensions cannot change, so a modified part will still fit.
A design revision is separate modeling work. Its benefit depends on the actual loads and available space, rather than the appearance of a thicker section alone. Material selection also needs the working conditions: heat, moisture, impacts and the way the part is fixed.
Test one replacement before asking for more
Agree a trial part for a new replacement. Check installation without excessive force, access to fasteners and movement of neighboring components. If it binds, identify the location and take a photograph. Specific feedback gives a better basis for a revision than simply reporting that it did not fit.
An ordinary FDM order does not replace the design and testing required for important equipment. Brake, steering, lifting and protective components need a different level of assessment. Even for a household holder, explain the real task rather than selecting a plastic by appearance alone.
Estimate the complete repair
Use the calculator if an STL or OBJ already exists. Otherwise, send photographs, measurements and a description through the project form. We can assess creating the model separately from making the part. A physically small component is not always simple to reconstruct.
Compare the complete cost: model, trial print, possible revision and delivery or collection. Include the likely quantity from the start. Once a sample has been checked, you may want several identical copies; the guide to batch discounts explains that next step.
Common questions
Can a part be recreated when only half remains?
Sometimes. Send the fragments, installation photographs and dimensions. Missing geometry must be reconstructed through modeling, with feasibility and price assessed after review.
Will the replacement be identical to the factory part?
The same shape does not establish the same properties. Material, layer direction, fit and operating conditions are agreed separately. An FDM replacement also has its own surface texture.
Find out what your model will cost.
Upload an STL or OBJ. If you do not have a file, send photos, a sketch and measurements. Modeling and printing are quoted separately.
Back to DECORDS 3D