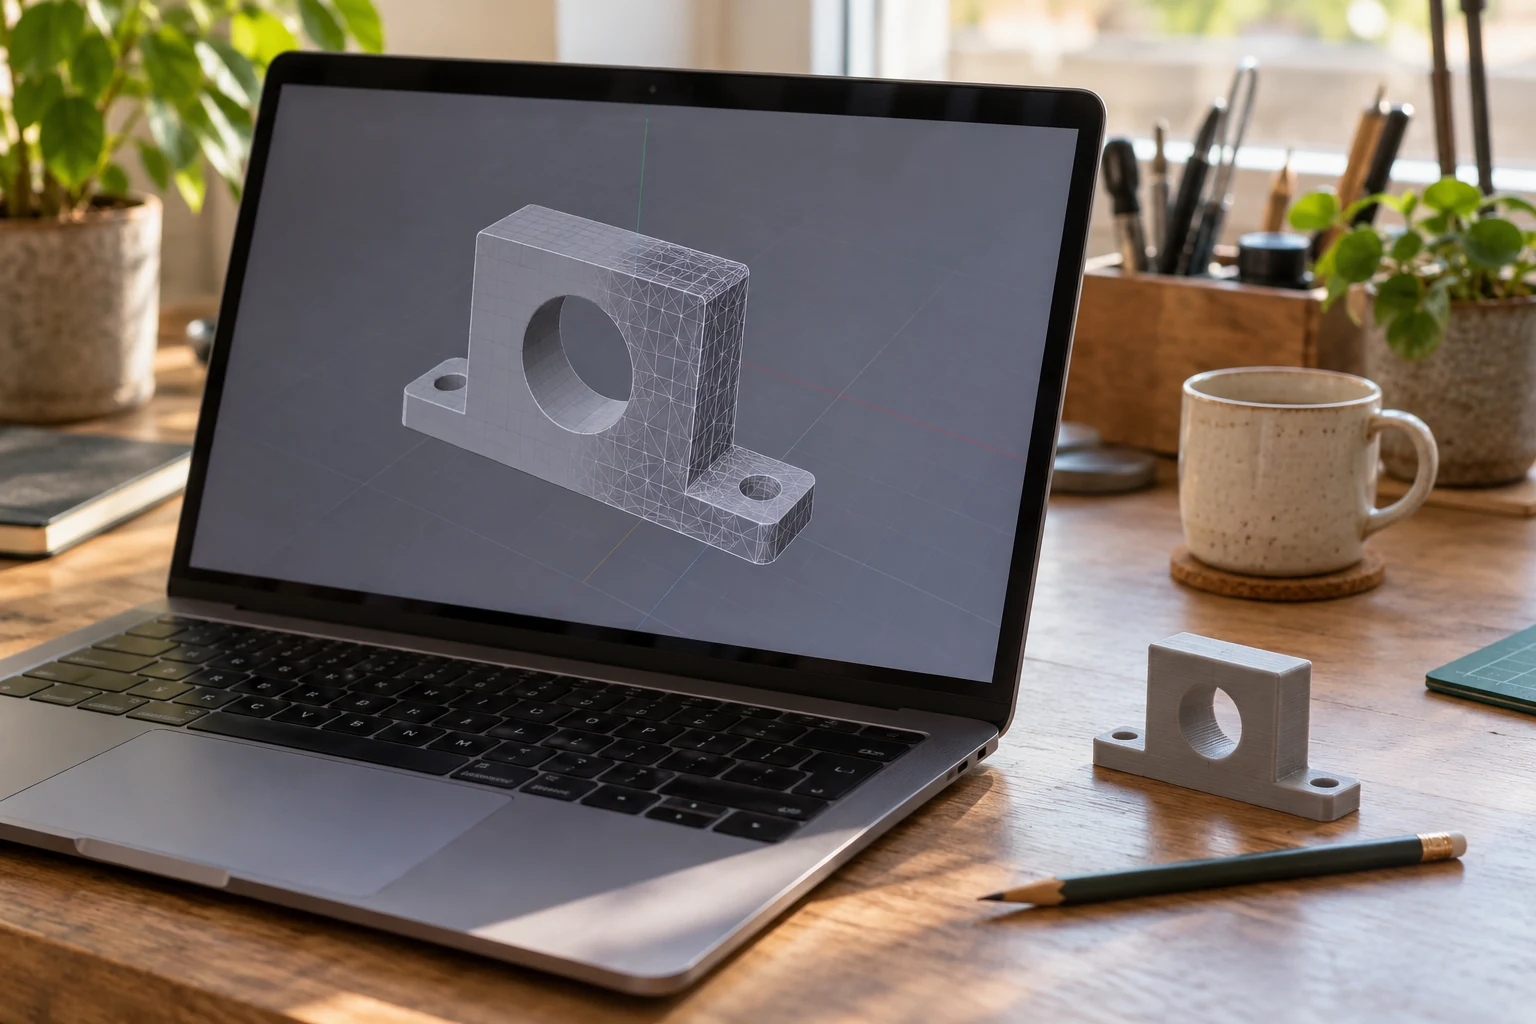
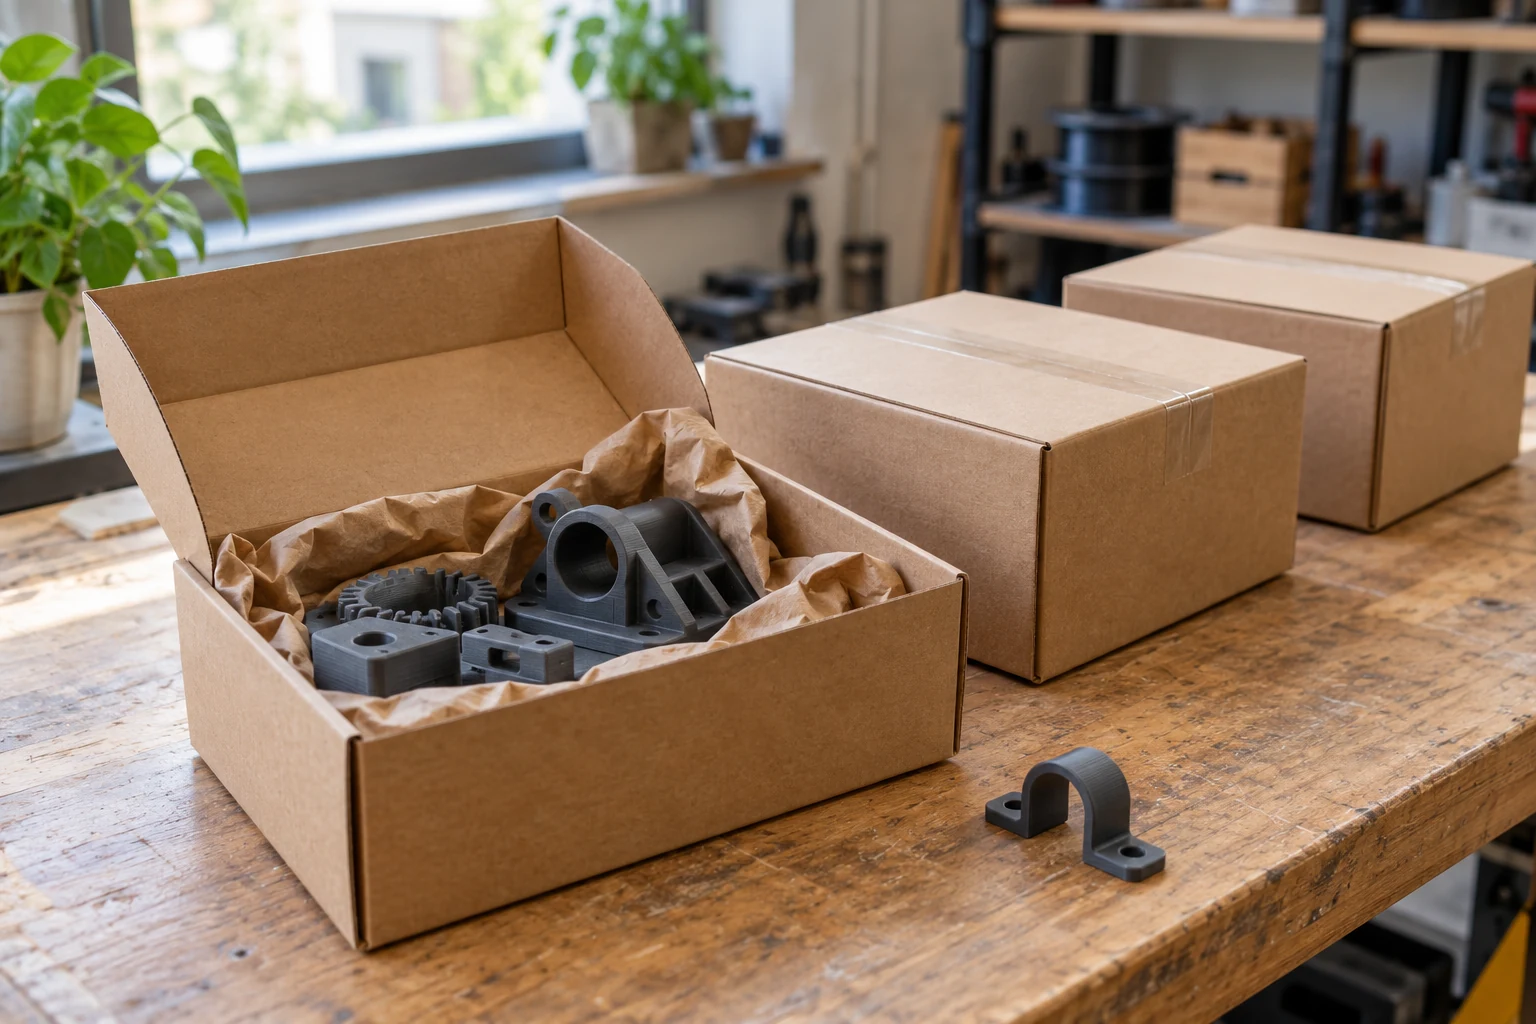
The standard DECORDS calculator tier is up to 25 × 25 × 25 cm. Larger models need an orientation check within the available build area. Dimensions above 34 cm require individual agreement; a planned 50 cm format is not a promise of current one-piece printing.
Give the complete size
“About thirty centimeters” is not enough to check a model. Give length, width and height. A long narrow strip and a large cube occupy different space. Show permitted orientations and faces where appearance matters. Being able to rotate a file does not mean that every orientation produces the same result.
The standard calculator tier is limited to 25 cm on each side. The next tier checks orientation in a 34 × 32 × 34 cm area. A 34 × 34 × 34 cm cube therefore cannot be assumed to fit. Feasibility also depends on the model’s shape, rather than the three dimensions alone.
When the workshop needs to review the model
If no suitable orientation is found, or a side exceeds 34 cm, the calculator refers the model for review. That is neither a free order nor confirmation of manufacture. The 50 cm format is planned; accepting a file of that size does not establish that the relevant printer is currently available.
Send the real file and required dimensions rather than shrinking it to pass the form. Scaling changes holes and fixings too. Discuss the actual task and the possibility of separate sections, particularly when the object needs to fit an existing item.
Splitting a model adds assembly requirements
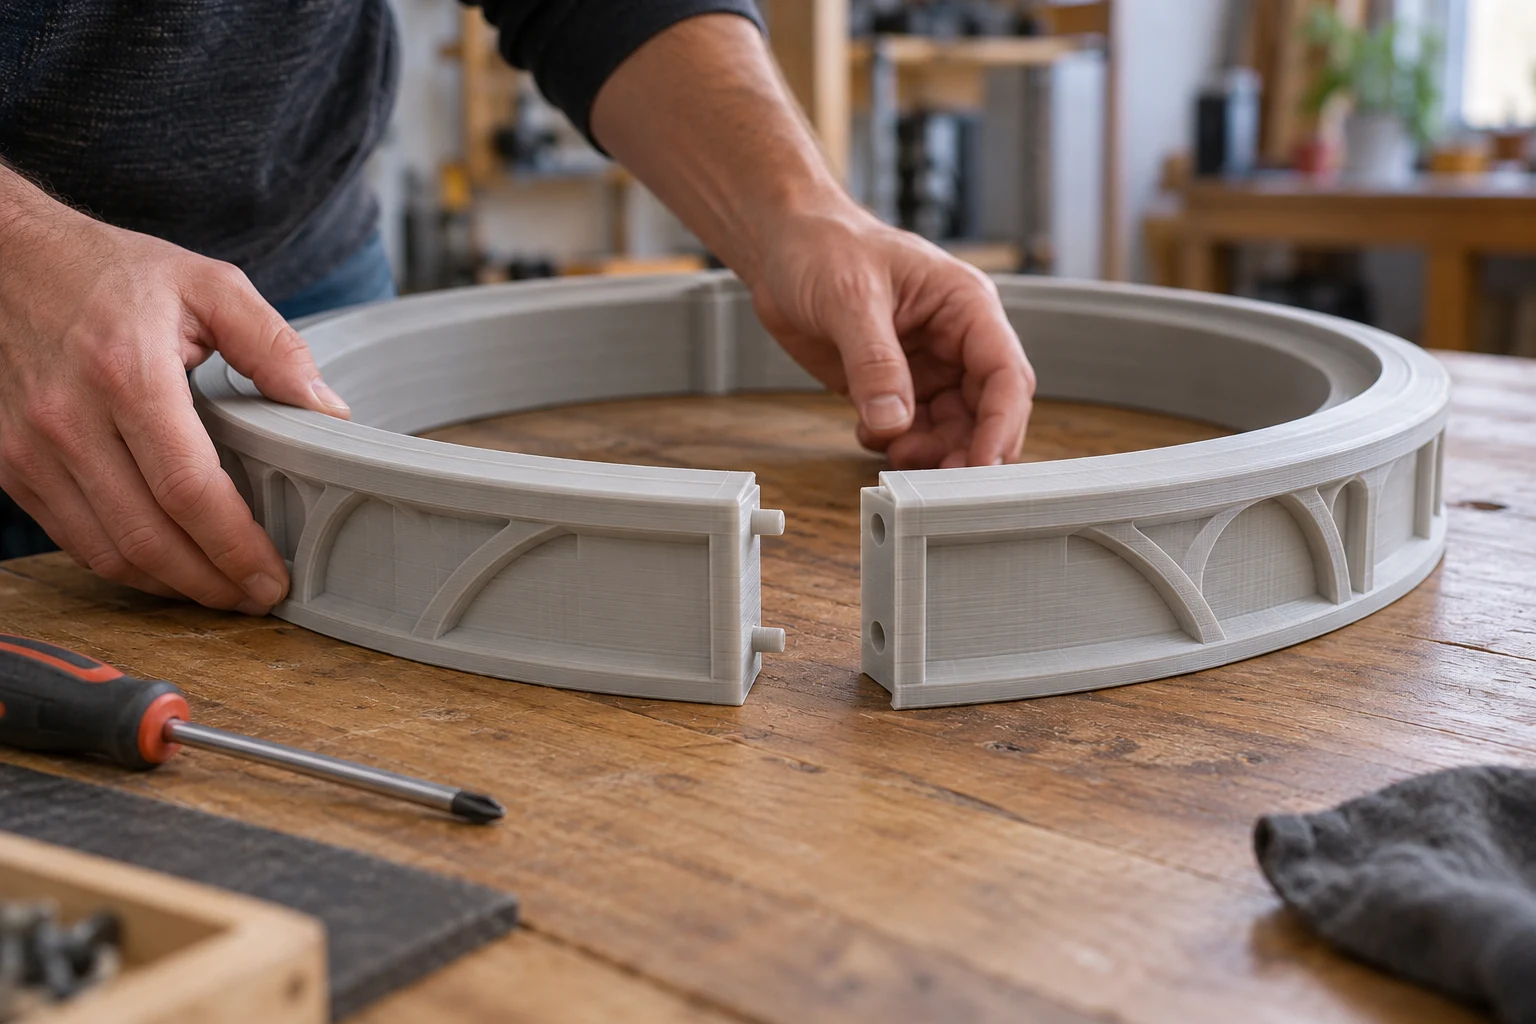
Making an object in sections can make a larger project worth discussing, but it introduces joints. Decide where seams can run, how the parts align and whether the joining area remains accessible. A display model needs an appearance discussion; a functional component also needs the joint’s behavior under load considered.
Agree whether you receive separate pieces or an assembled item. Joint preparation, fasteners, gluing and surface finishing are not automatically included in the ordinary print price. Their availability and cost need advance agreement. Accurate separate pieces do not by themselves promise the properties of one solid object.
Identify visible faces and working surfaces
For a large model, show where it will be viewed from. A joint may be easier to position on a face hidden beside a wall. An object seen from every side needs different seam requirements. An installation photograph can explain this more clearly than a file without context.
For a loaded structure, include the type of load and fixing points. A small-scale copy can help assess proportions, but does not establish the strength of a full-size object. The fastening guide is useful when planning assembled sections.
Send the large model for a useful assessment
Start with the calculator, checking the units and actual size. If review is required, explain the purpose, permitted seams, installation location and preferred date. The STL and OBJ guide helps prepare the file.
If no geometry is ready, use the project form. Distinguish mandatory dimensions from those that can change. A large part also needs a suitable packaging and handover method confirmed; standard shipping cannot automatically be applied to every large assembled item.
Common questions
Can you already print any 50 cm part in one piece?
No. That format is planned. For dimensions above 34 cm, feasibility, possible sections and timing need separate confirmation.
Will joined sections look and behave like one solid part?
That depends on the joint position, material and agreed finishing. Discuss seams in advance. Printing sections alone does not promise an invisible joint or monolithic properties.
Technical references
Manufacturer guides explain printing and design principles. We agree the requirements for your particular part before production.
Find out what your model will cost.
Upload an STL or OBJ. If you do not have a file, send photos, a sketch and measurements. Modeling and printing are quoted separately.
Back to DECORDS 3D