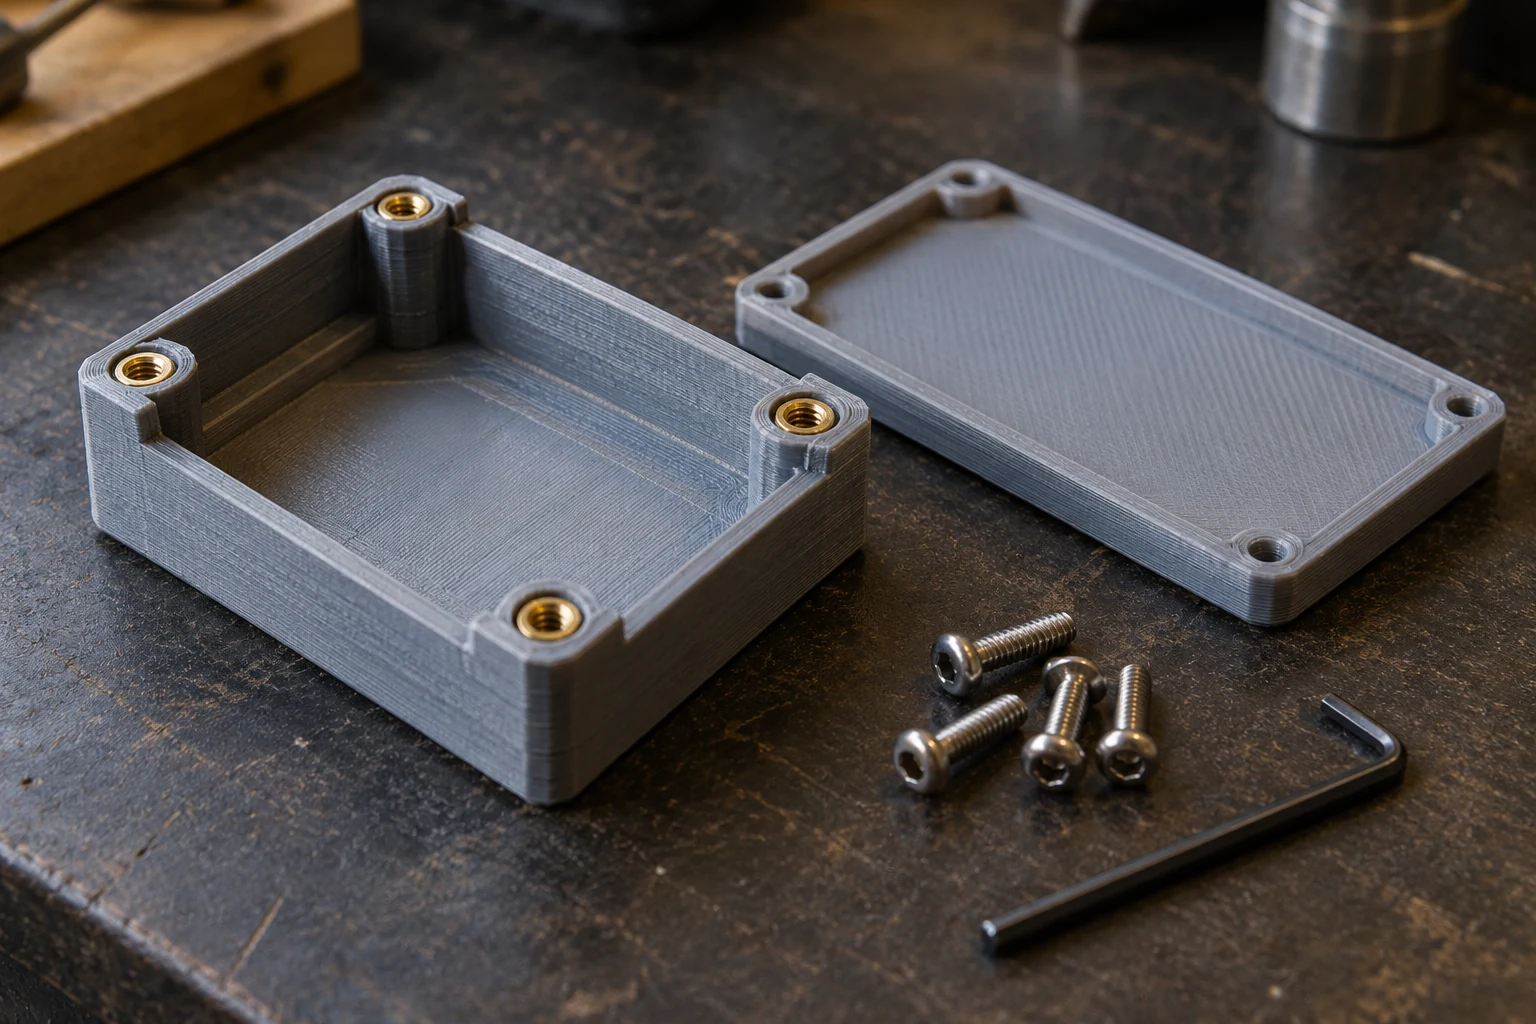
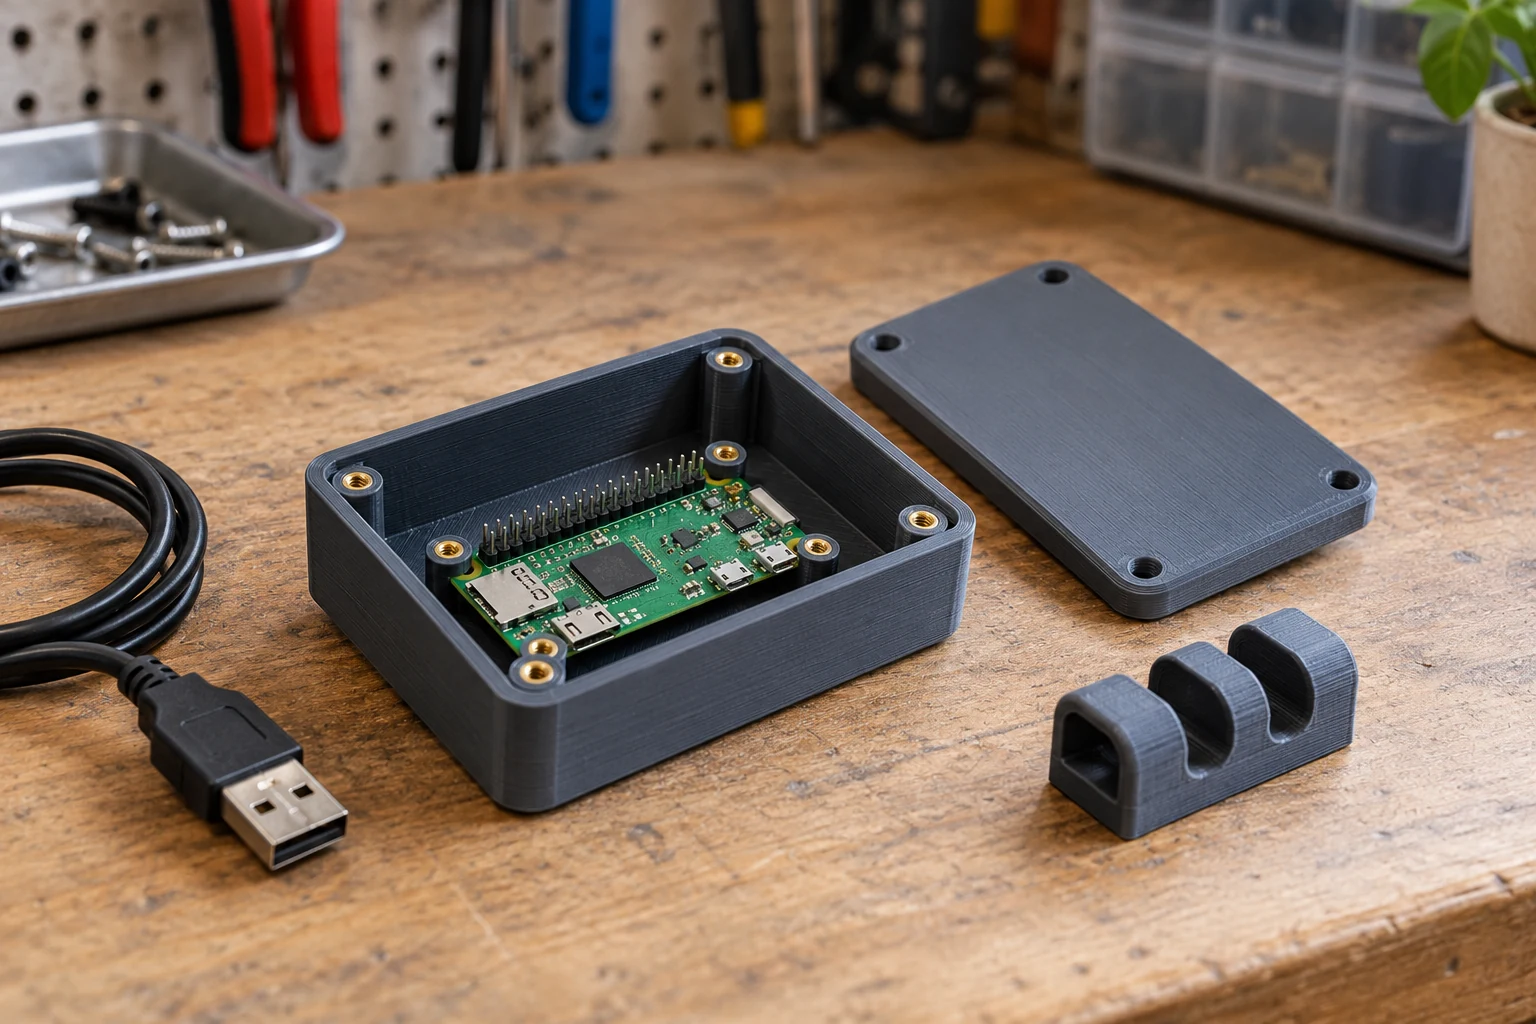
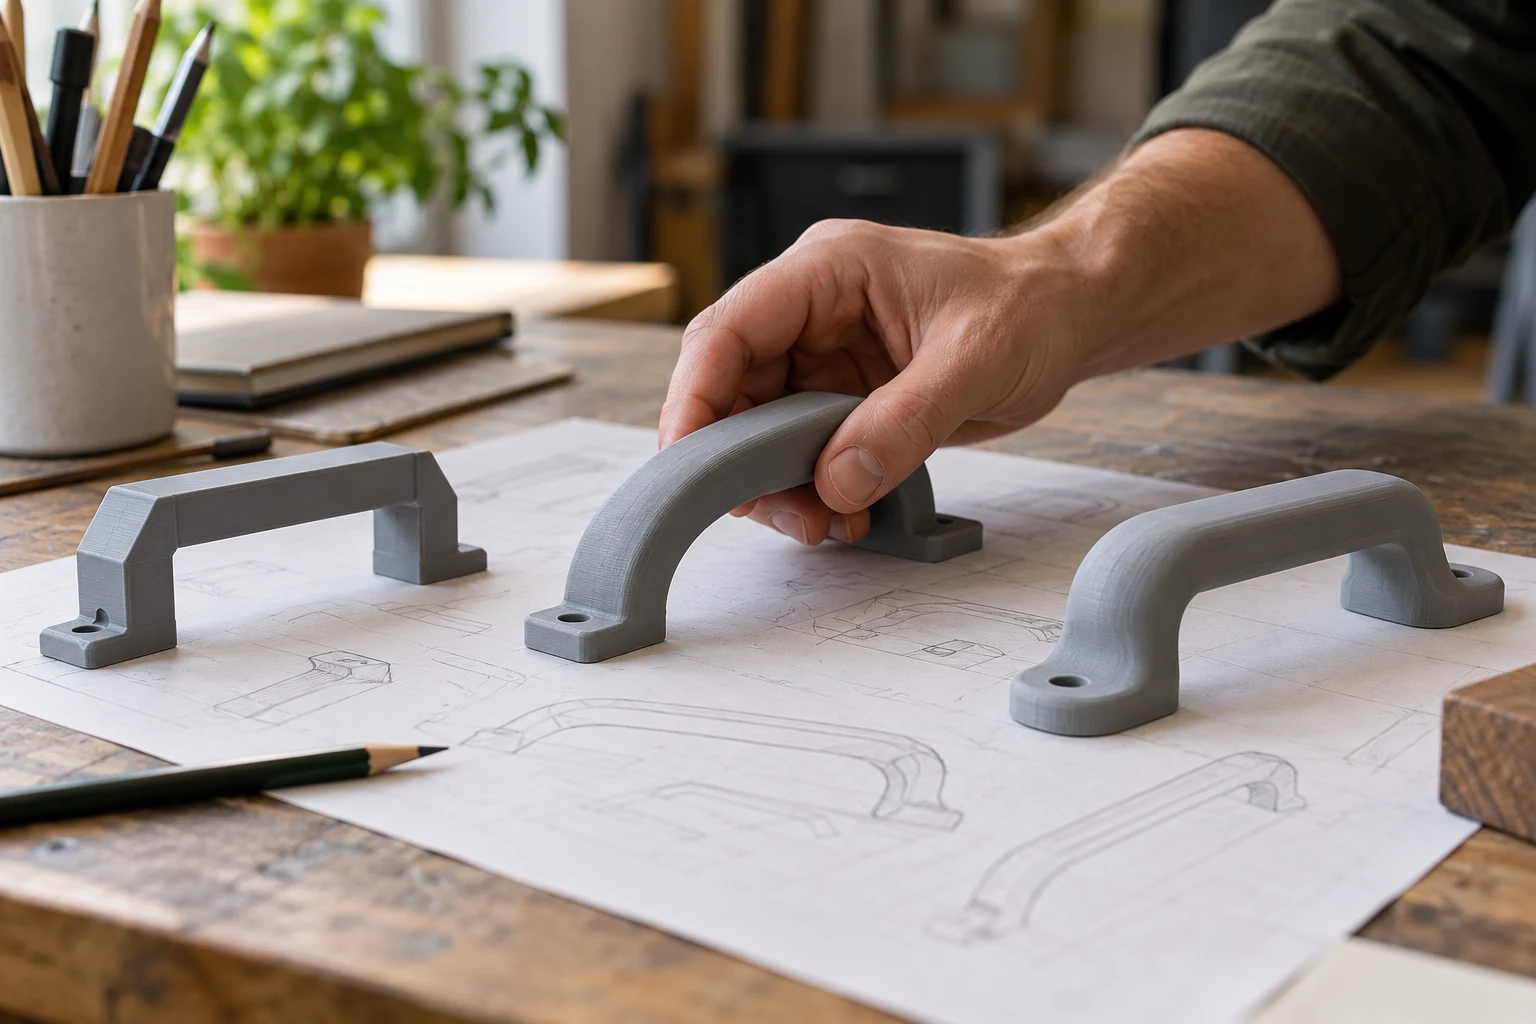
An enclosure starts with the board, connectors, cables and installation method. A sample lets you check the assembly before approving the final version. Water protection, heat behavior and electrical properties need separate assessment.
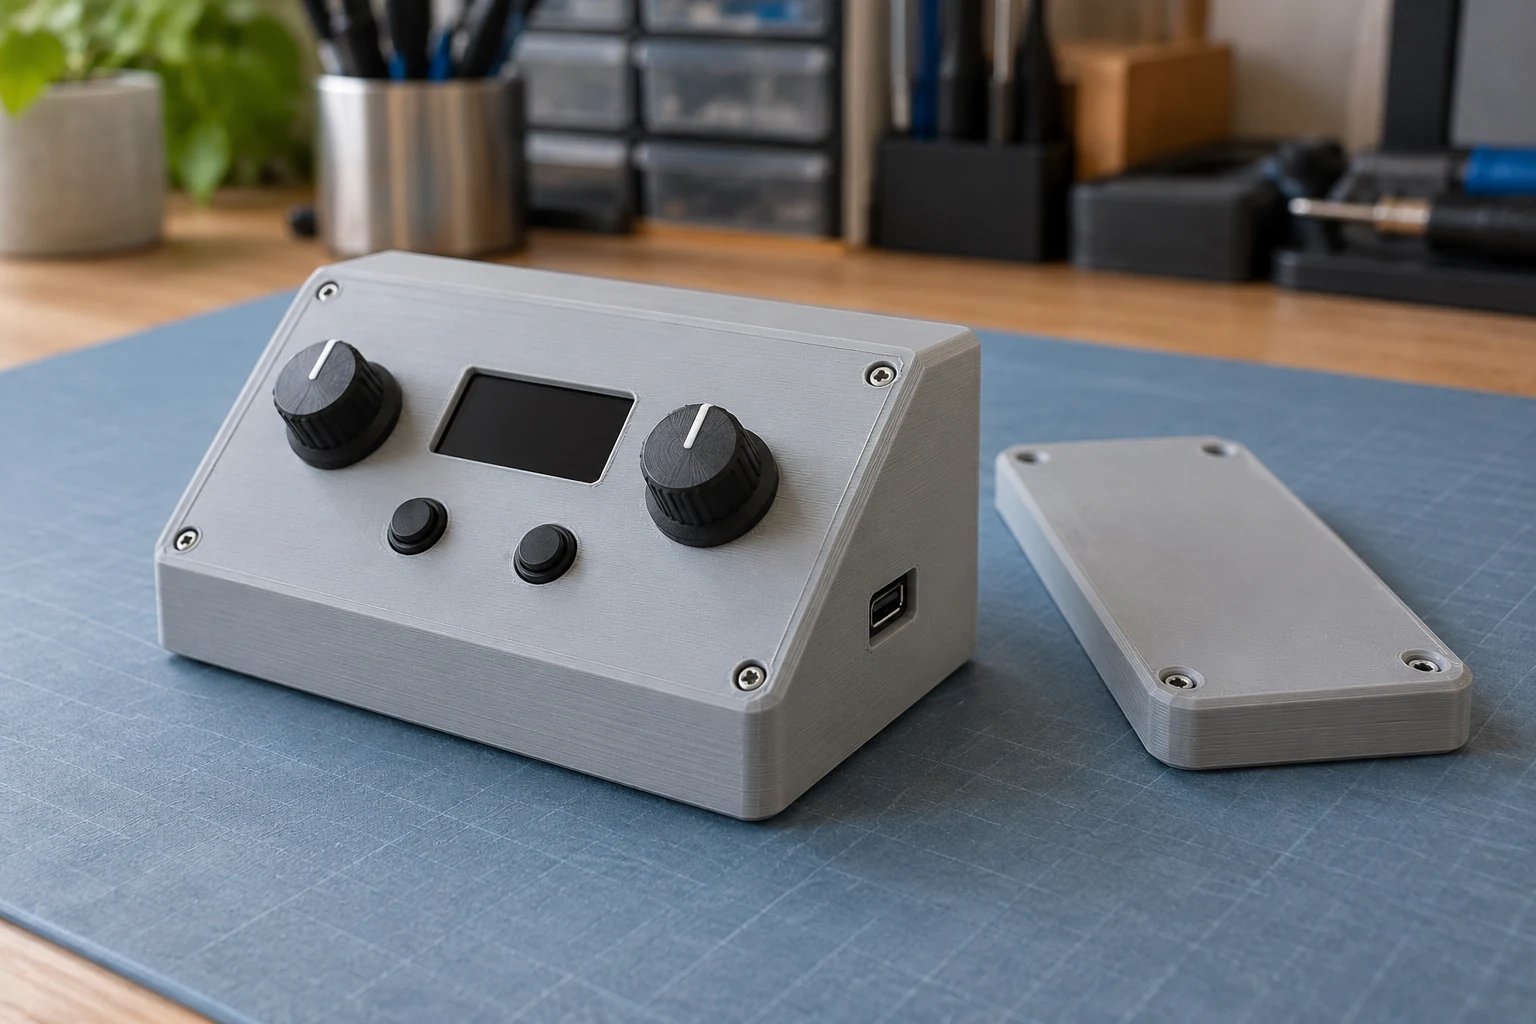
Begin with the components inside
Measure the board, tallest components and mounting-hole spacing. Show the connectors with their cables plugged in. A case may fit the bare board but become impractical when a plug is connected or a button needs to be pressed. For a sensor, identify any area that must remain exposed.
Arrange the future assembly’s components together and take several photographs. Add a dimensioned sketch in millimeters and say which components may still change. During development, a simple checking enclosure can be more useful than spending time on the final front-panel appearance.
Plan installation and access
The enclosure may sit on a desk, attach to a wall or fit inside another product. Identify cable exits and whether screws remain accessible after installation. Walk through the assembly sequence before manufacture: board, cables, then lid. An awkward step is easier to change in the model.
If the device needs regular servicing, discuss a removable connection. Screws, nuts or inserts may be considered, but their supply and installation are agreed separately. A snap fit also needs a sample check. Read more in the guide to threads, fasteners and snap fits.
Describe heat and the installation environment
Say whether the case is used indoors, in sunlight or next to warm components. A display mock-up and the enclosure of a continuously operating device have different requirements. Start with those conditions when discussing PLA, PETG, ASA or TPU, rather than choosing by the plastic’s name alone.
An ordinary printed case does not establish flame resistance, electrical insulation, antistatic performance or an IP rating. State such requirements before the estimate if they are essential. A closed box with cable openings is not automatically sealed, and these properties cannot be determined from an exterior photograph.
Build the first sample with the actual components
Use the sample to check board position, hole alignment, controls and lid closure. Confirm that cables do not obstruct assembly. Keep required changes on one marked sketch or in a single list so the workshop receives a consistent revision instead of contradictory messages.
For example, “move the connector 2 mm to the right when viewed from the front” is clearer with a marked photograph. Check neighboring features again after changing the model. Enclosure development benefits from this sequence because one outside dimension cannot describe the entire assembly.
Request an enclosure from our Tallinn workshop
For ready STL or OBJ files, use the printing calculator. For a new design, send board measurements, photographs, a connector layout and quantity through the modeling form. Creating the enclosure model is priced separately from printing.
Before making cases for several devices, approve one complete assembly. You can then discuss a small production batch. Keep the reference and model version from the successful order so a repeat batch corresponds to the assembly you actually tested.
Common questions
Can the openings be made for my connectors?
Yes, they can be modeled from measurements. Provide positions, connector dimensions and cable space. Check the fit on a sample before a series.
Can a printed enclosure be used outdoors?
That depends on its material, construction and conditions. Describe sunlight, water, temperature and mounting. Printing in ASA alone does not establish sealing or an IP rating.
Find out what your model will cost.
Upload an STL or OBJ. If you do not have a file, send photos, a sketch and measurements. Modeling and printing are quoted separately.
Back to DECORDS 3D