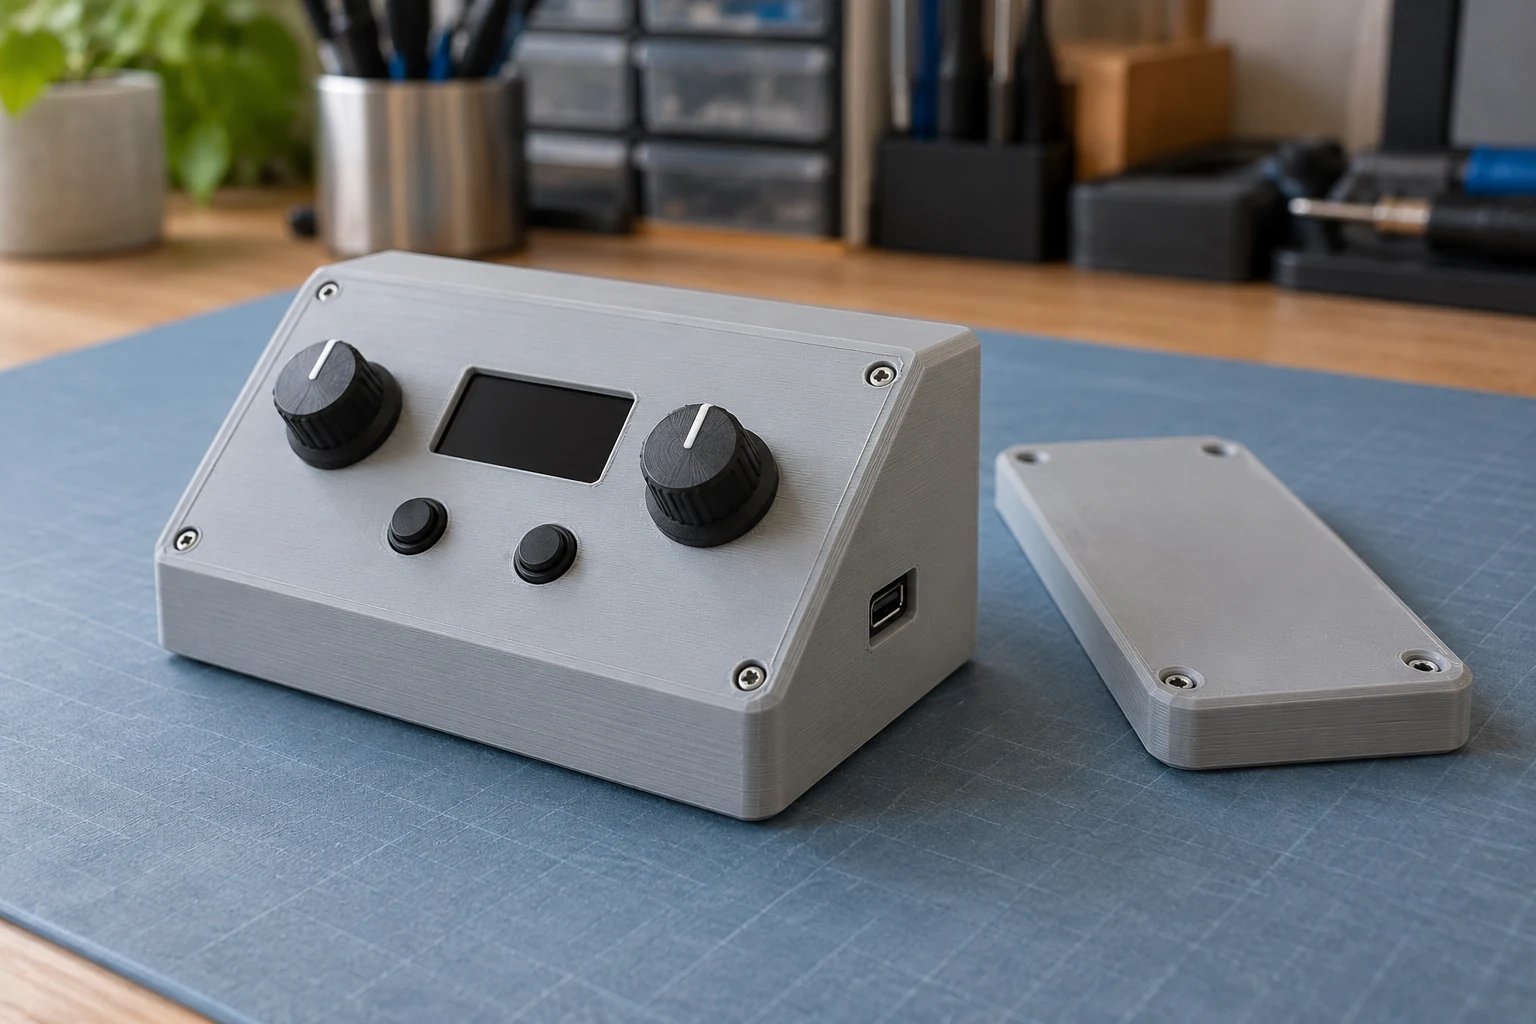
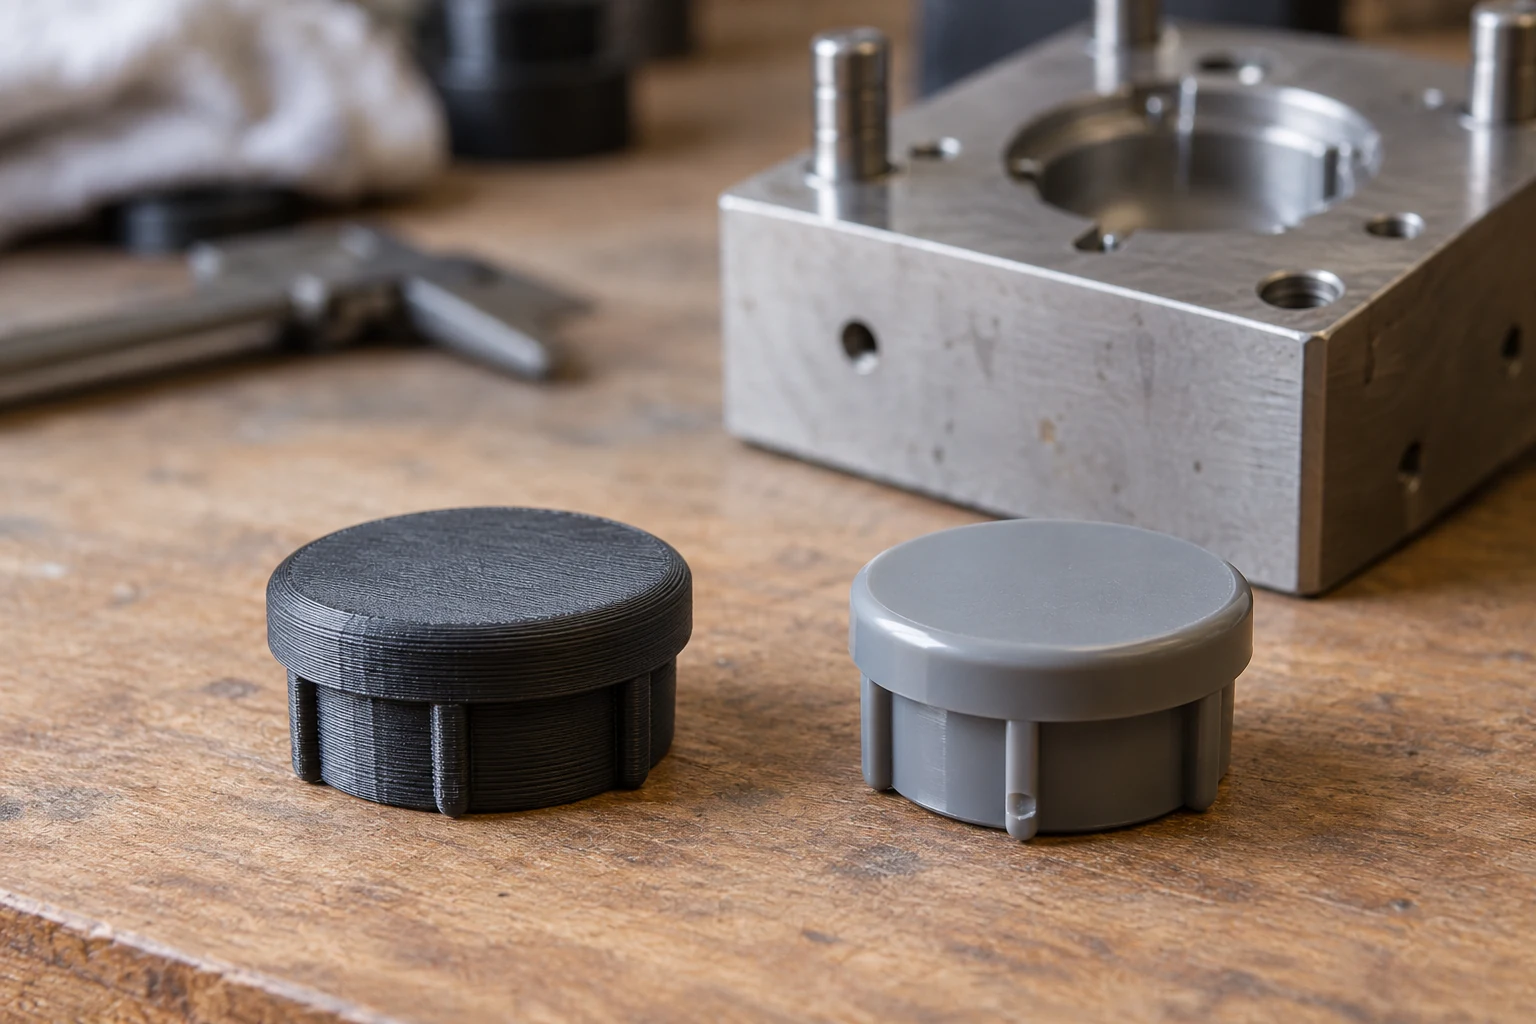
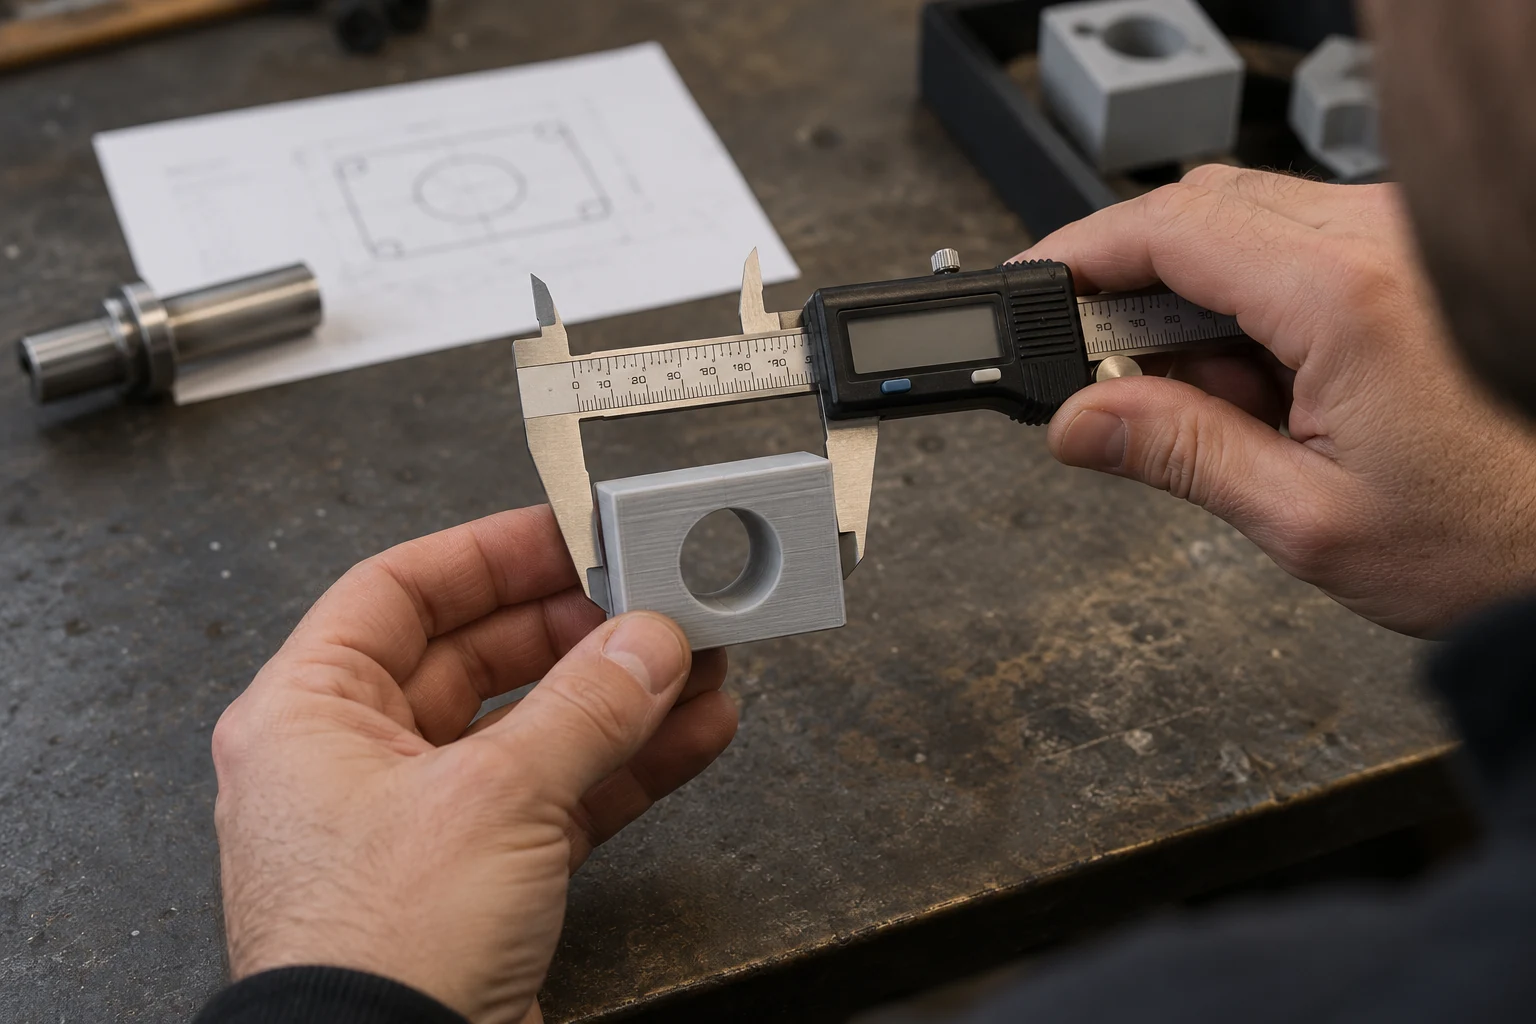
Give the prototype a specific question: is the size right, do the pieces assemble, or is it comfortable to use? Check the sample, then revise the model. This helps identify problems before an entire batch is ordered.
Decide what the first sample needs to prove
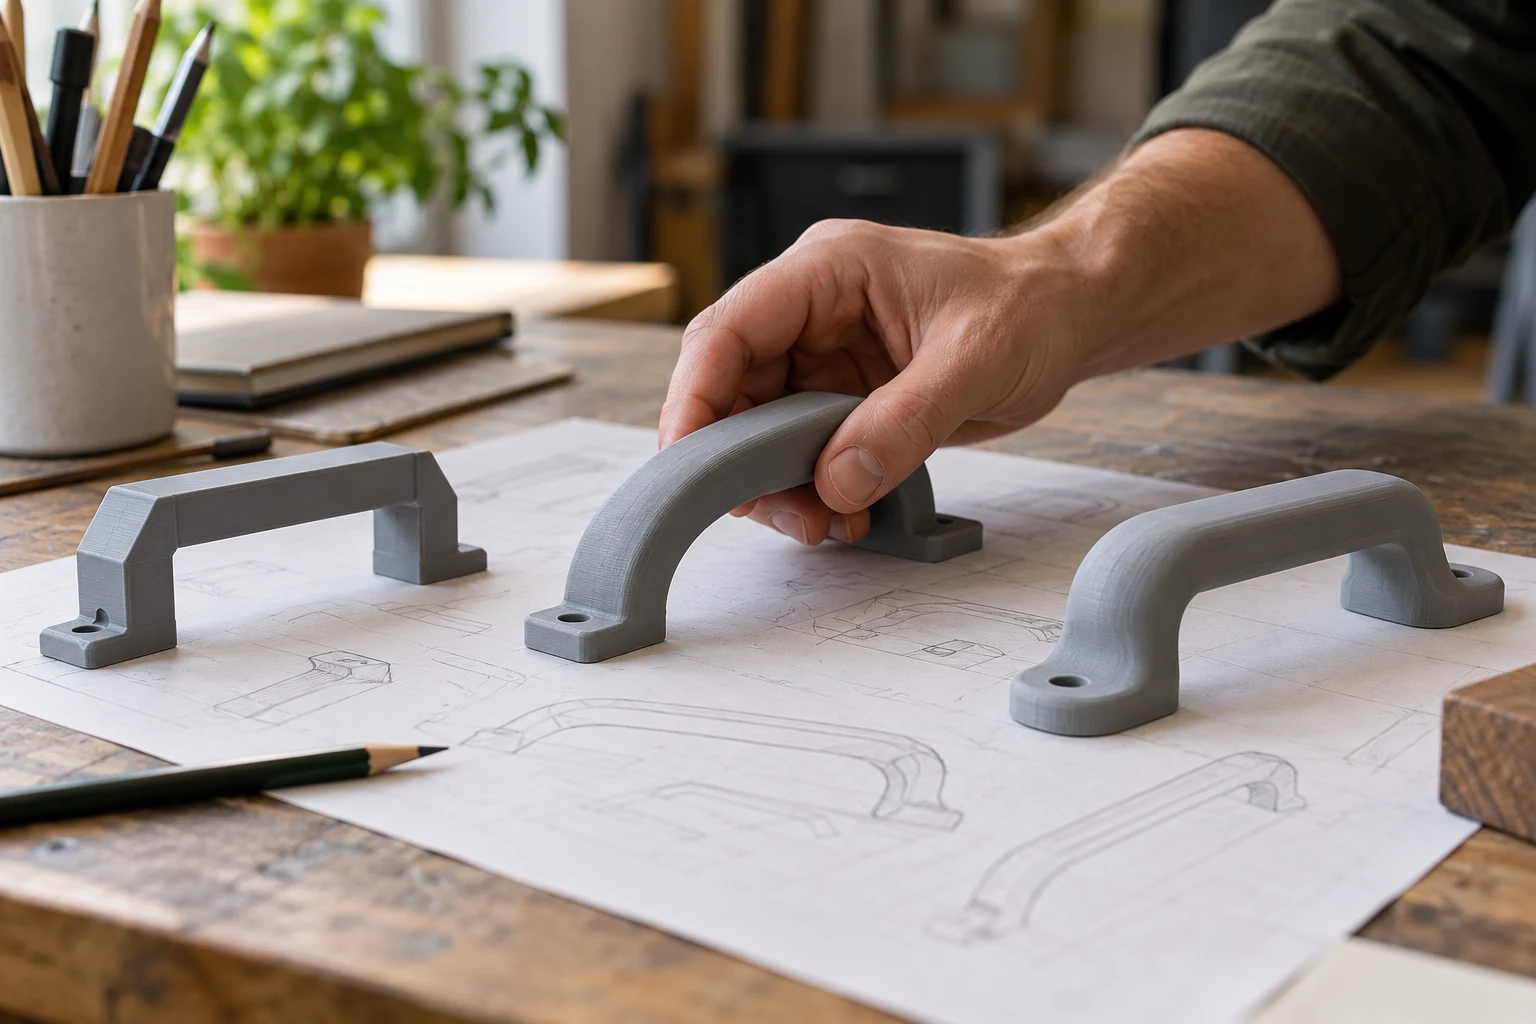
A prototype does not need to look like the final product straight away. The first check might simply establish whether a device fits on a desk or a handle feels comfortable. A later version may test fixings and assembly. Write down the purpose before printing, so you do not pay for detail that is not yet helping a decision.
For a workplace holder, the first sample may check object position and hand access. If the shape is awkward, printing ten identical copies would not resolve it. Revising one model is usually more straightforward than adapting a finished batch to a changed requirement.
Separate appearance, assembly and function
A shape model answers questions about dimensions and proportions. An assembly sample checks how components relate to one another. A functional prototype tests a particular action under defined conditions. These aims can need different materials and geometry; “prototype” alone does not specify the print.
A physical sample helps reveal mistakes, but a successful fit does not prove service life. If the product will face sustained load, heat or repeated opening, plan an appropriate check. Relate testing to future use, rather than assuming a part is suitable because it looks thick enough.
Turn observations into clear model revisions
Give each version its own filename and keep a change list. Identify the actual issue: the lid meets a cable, the handle sits too close to the wall or a hole needs moving. Dimensions and a marked photograph provide clearer instructions than a general request to make the design more convenient.
After a change, review adjacent features as well as the corrected area. A larger opening can reduce the material around a fixing, and moving a part can affect access elsewhere. Confirm which revised version is approved for the next sample, so old and new files are not confused.
Budget for development, rather than only one print
The price of the first print and the cost of reaching a finished design may differ. Modeling, adjustments after fitting and additional samples are separate items. State the budget and deadline early. That helps choose the scope of the first test and the details that can wait.
At DECORDS, production normally takes 2–5 days after model review and payment. Modeling, further agreement and delivery take additional time. If the sample is needed for a meeting, give the date it must be received. One-day urgent printing requires advance agreement.
Approve a tested version before increasing quantity
Record the checked model, material, color and critical requirements before ordering more. A successful sample is easier to repeat when everyone knows exactly which version was approved and what was tested. For larger quantities, read the comparison of 3D printing and injection molding.
Start by uploading a file to the calculator, or send the idea through the project form. Explain the question the first sample needs to answer. That gives the discussion a concrete goal even when the complete future product is still being developed.
Common questions
Must the first prototype use the final material?
A different material can sometimes be used to check shape. If load, flexibility or heat is being tested, material and conditions already matter. Define the sample’s purpose first.
Can I order a batch from the first model?
A batch can be discussed, but a new assembly benefits from checking one example first. An error in the source model will be repeated in every identical part.
Technical references
Manufacturer guides explain printing and design principles. We agree the requirements for your particular part before production.
Find out what your model will cost.
Upload an STL or OBJ. If you do not have a file, send photos, a sketch and measurements. Modeling and printing are quoted separately.
Back to DECORDS 3D